

This guide walks through generating a Brevo API key, connecting it in Zaplane, and adding a Create Contact action to your workflow.
Part 1: Create a Workflow
Go to Zaplane > Workflows from your WordPress dashboard, then click Create Workflow to open the workflow editor.
Before adding a Brevo action, you need to set up a trigger first. Here is how to do it quickly:
- Click Select an app under the Trigger box, then choose Apps.
- Search for and select your trigger app — in this example, we are using aBlocks Contact Form.
- Choose the Trigger Type that matches the event you want to watch for, then click Continue.
- On the Configure tab, set up any required options, then click Continue.
- On the Test tab, click Test Trigger to confirm it is working correctly, then click Save.
Once your trigger is saved, proceed to the next step to add the Brevo action.
Part 2: Get Your Brevo API Key
Step 1: Open Brevo Settings
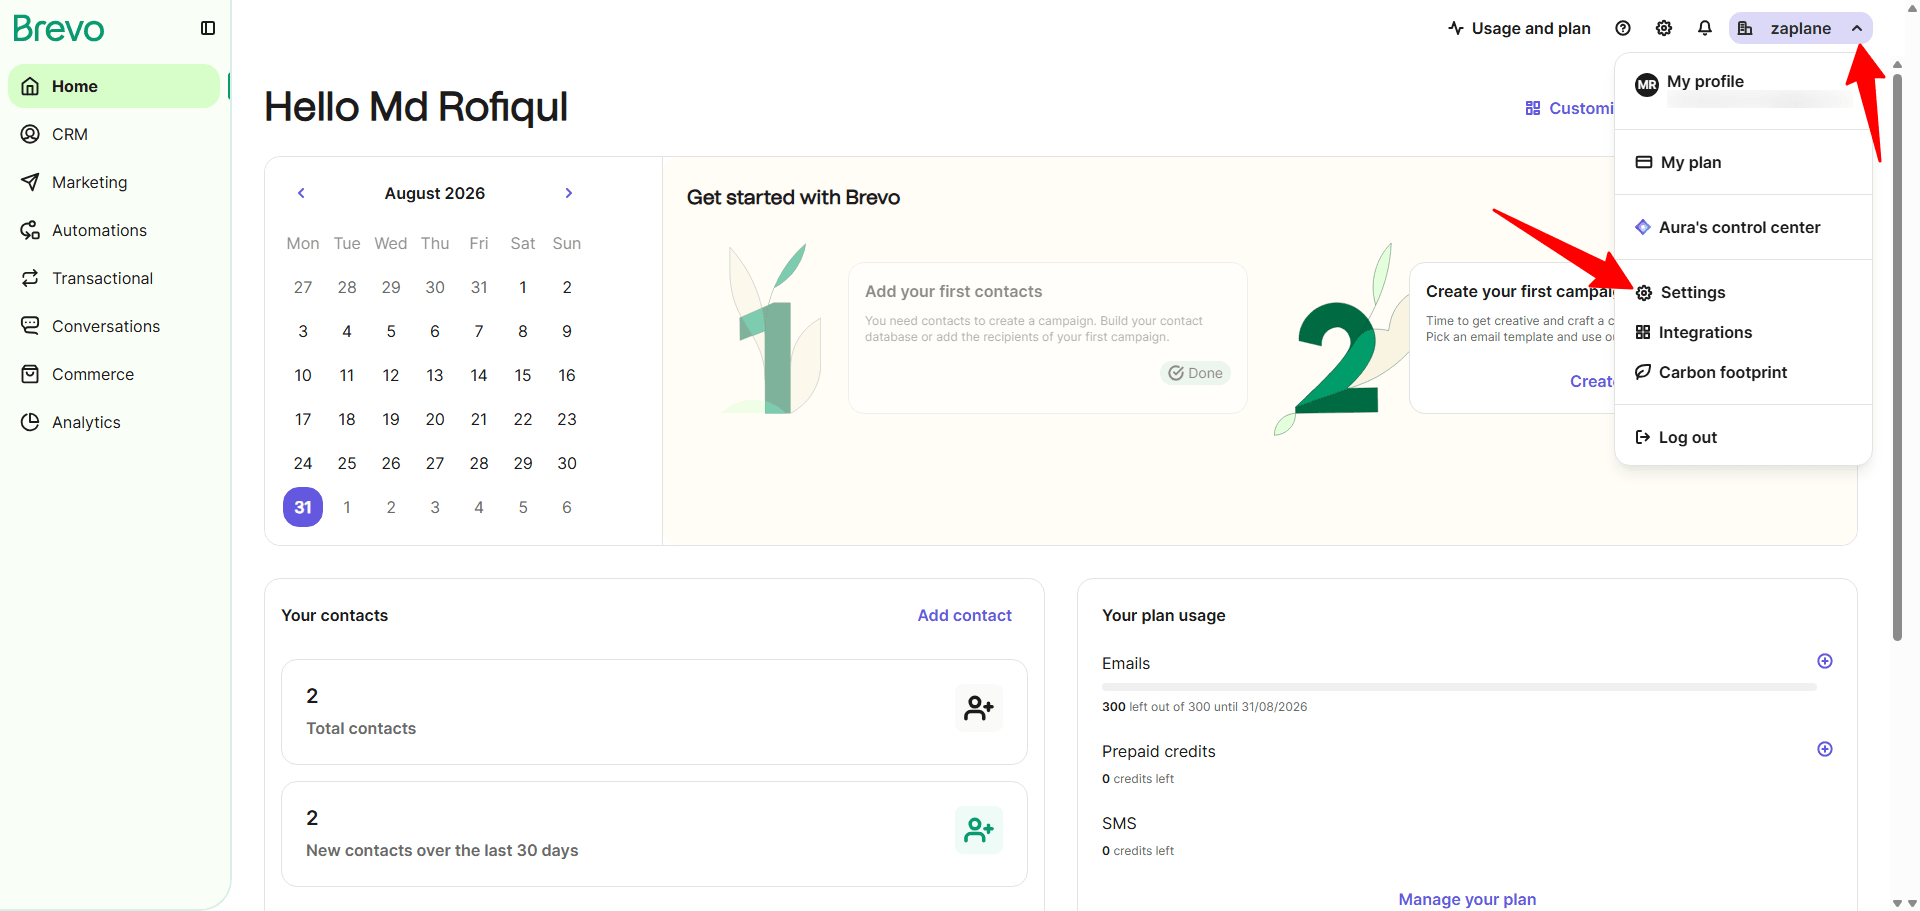
- In Brevo, click your account name in the top-right corner and select Settings.
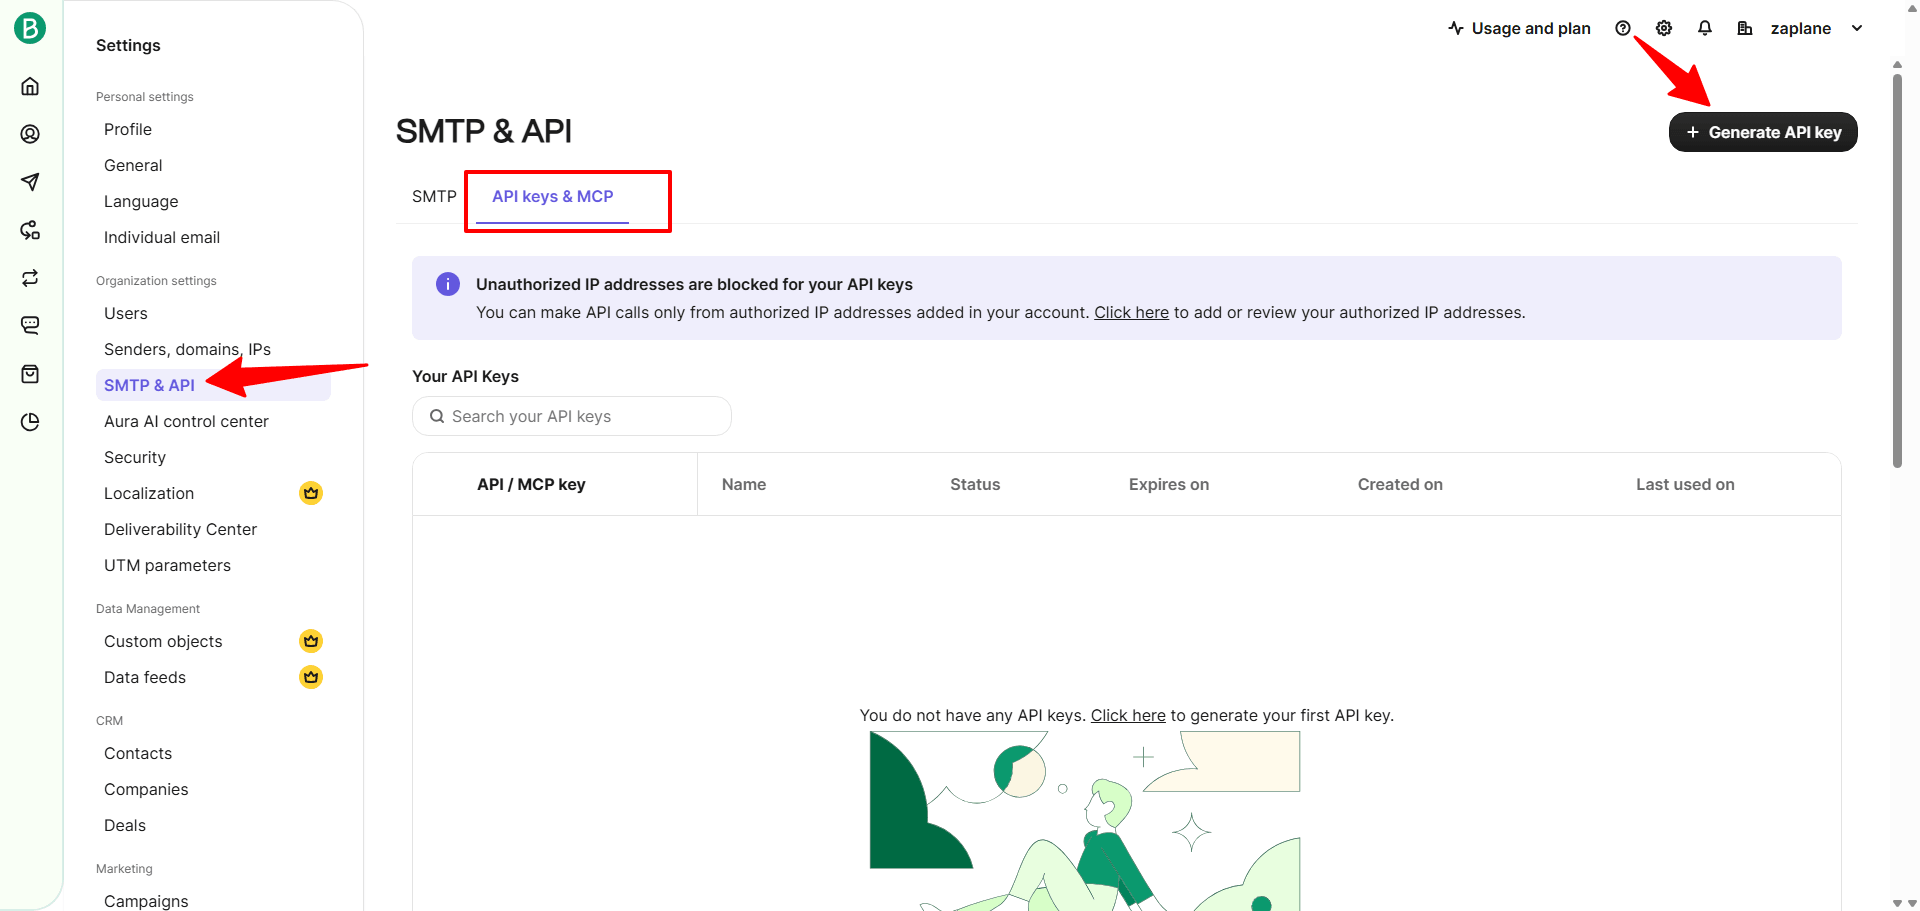
Step 2: Go to SMTP & API and Generate a New Key
- Click SMTP & API in the sidebar, open the API keys & MCP tab, and click + Generate API key.
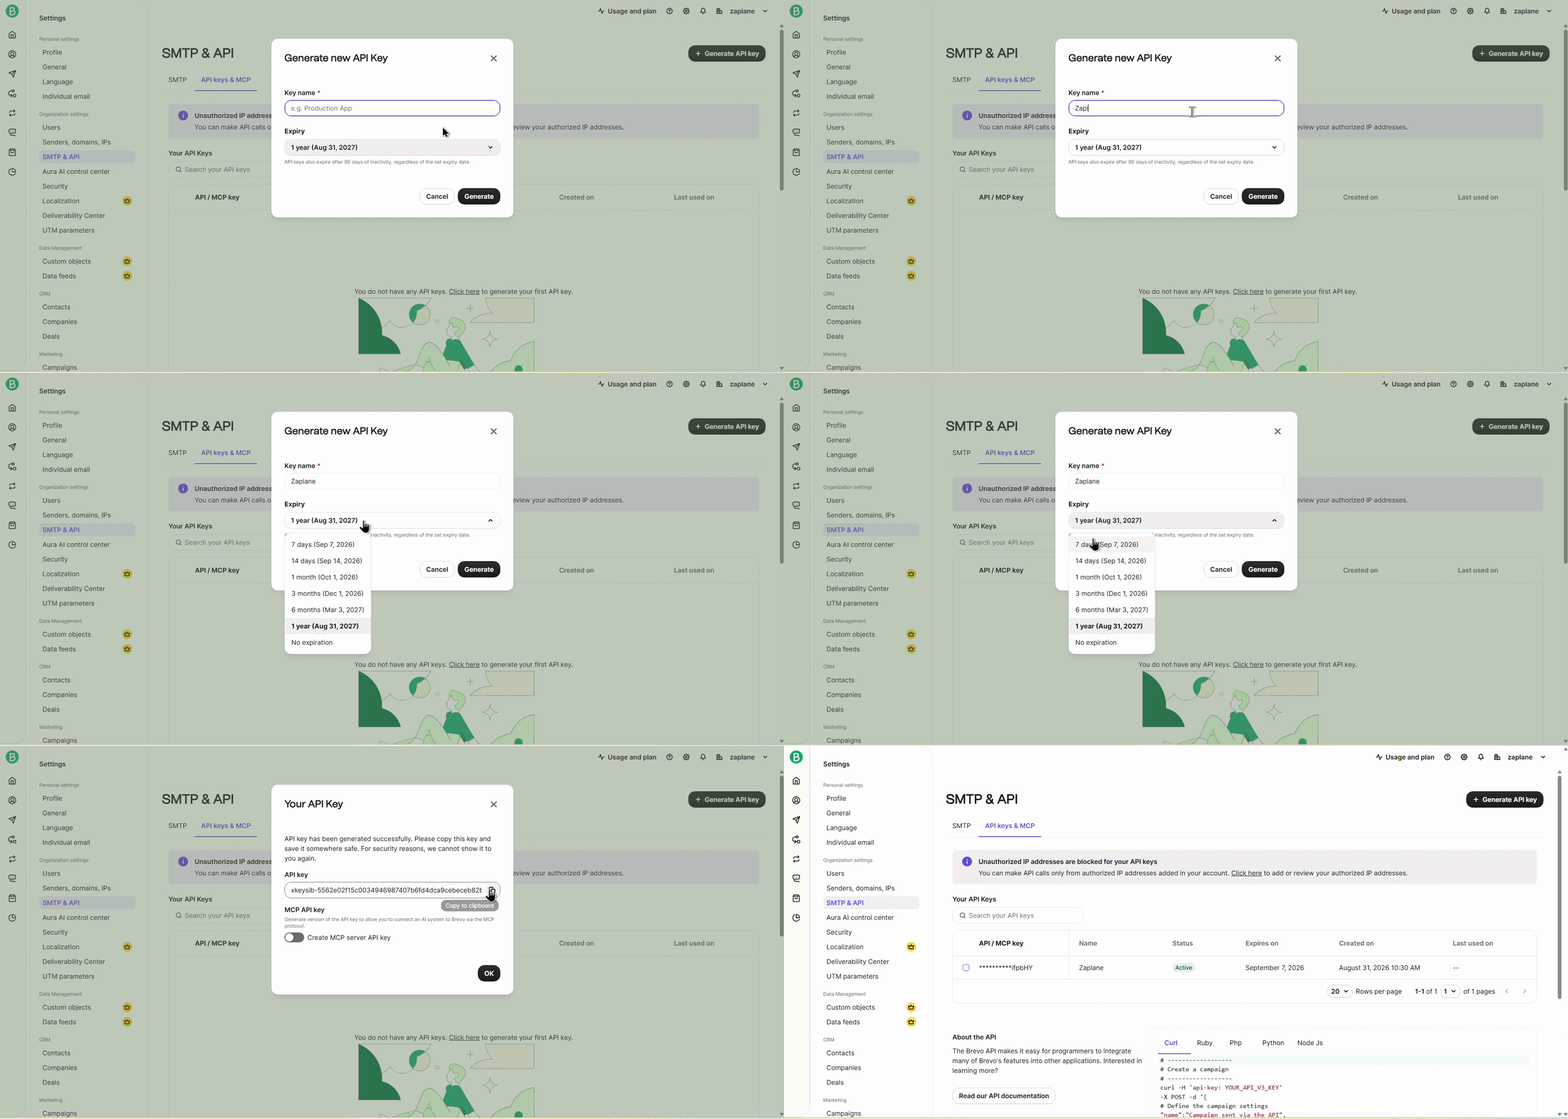
Step 3: Name the Key and Set Expiry
- Enter a Key name (e.g. “Zaplane”), choose an Expiry, and click Generate.
Step 4: Copy Your API Key
- In the Your API Key dialog, click the copy icon to copy your key — Brevo won’t show it to you again once you close this dialog.
Part 3: Create the Connection in Zaplane
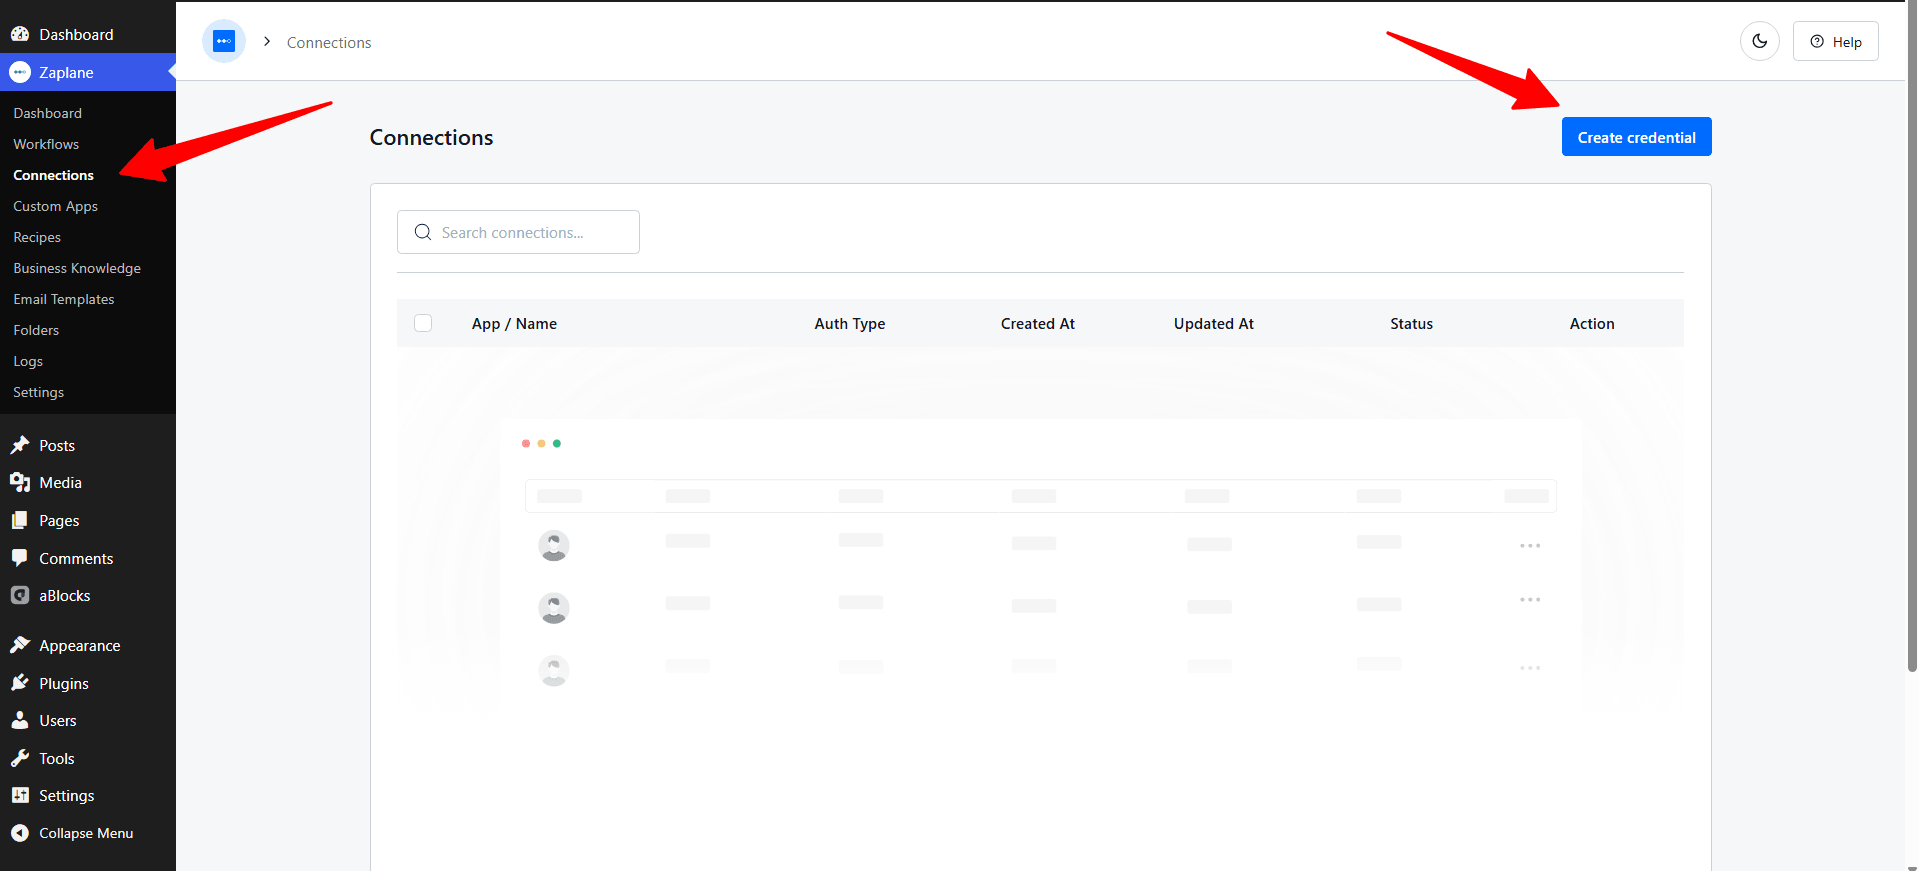
Step 5: Click Create Credential
- Go to Zaplane > Connections and click Create credential.
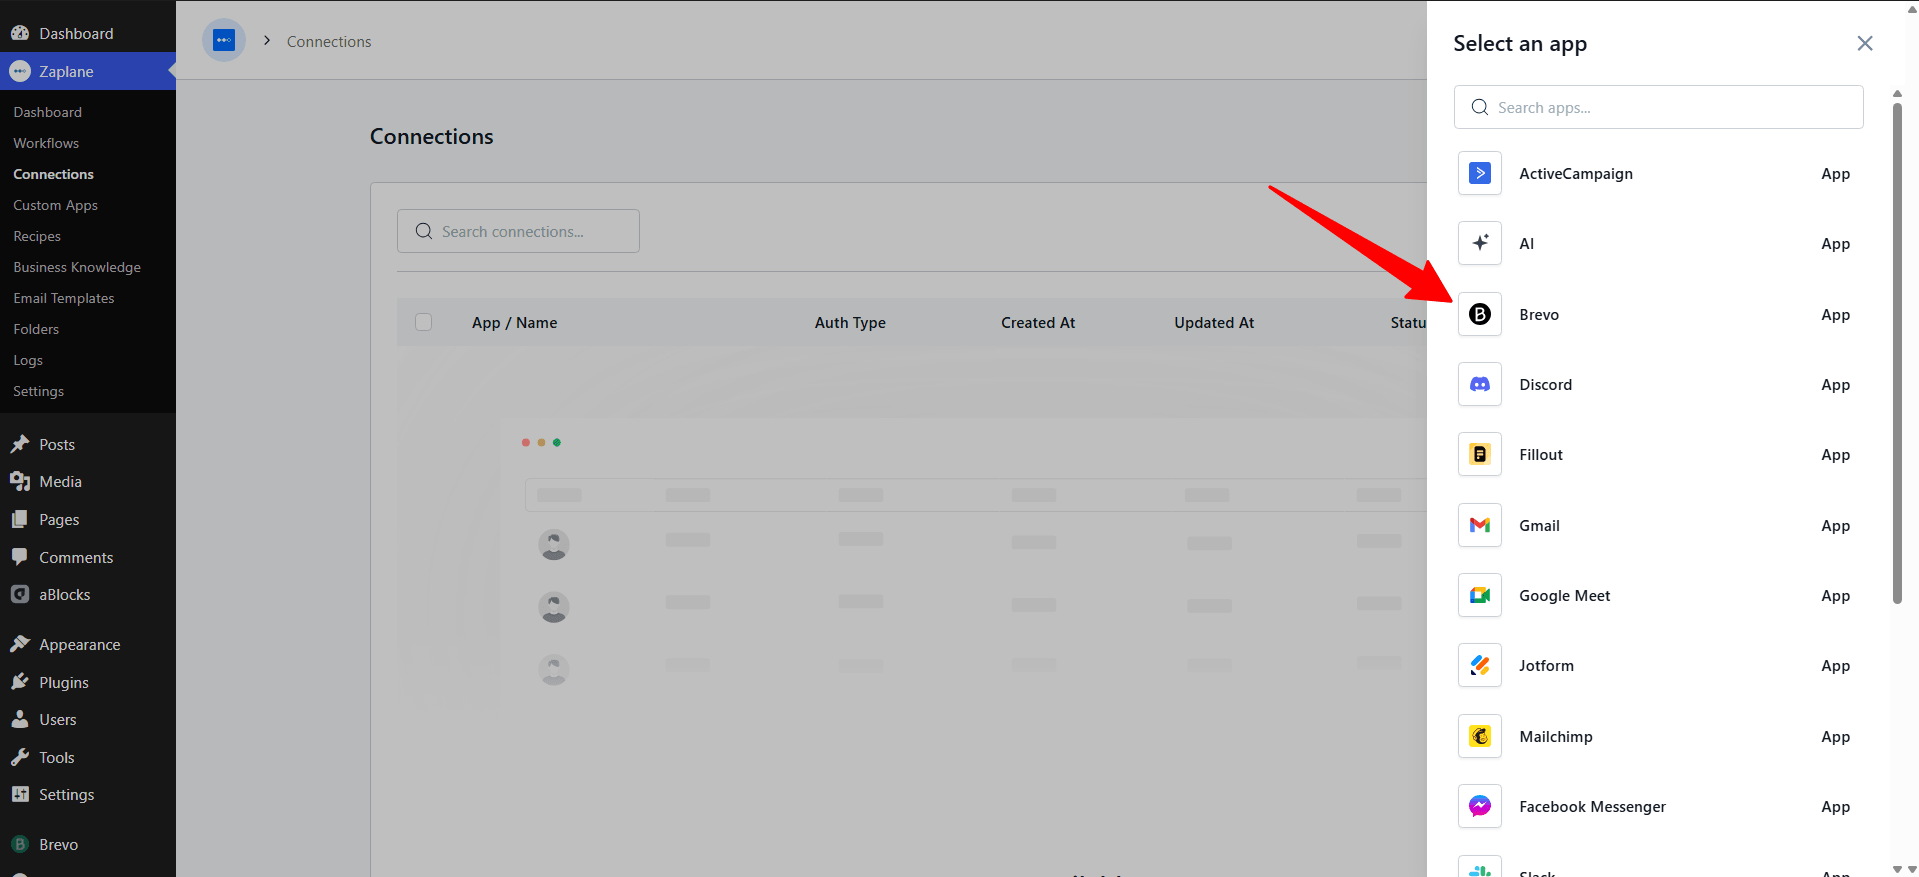
Step 6: Select Brevo as the App
- In the Select an app panel, choose Brevo.
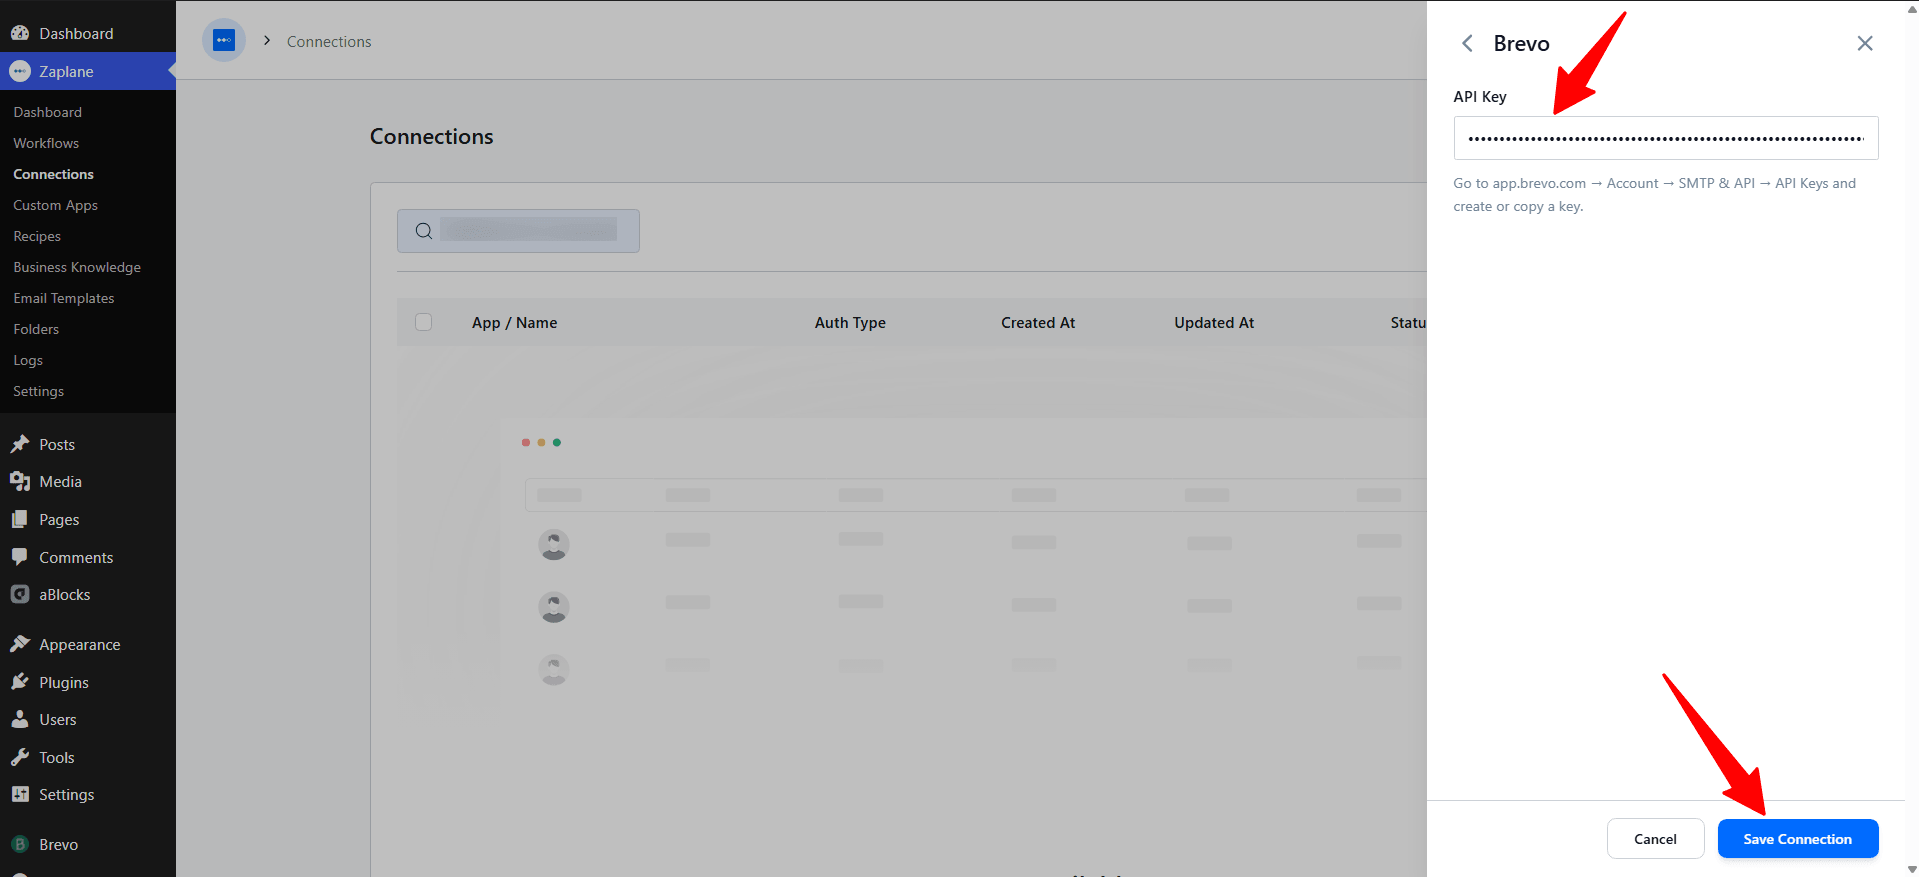
Step 7: Enter Your API Key
- Paste your API Key from Brevo, then click Save Connection.
Part 4: Add the Action to Your Workflow
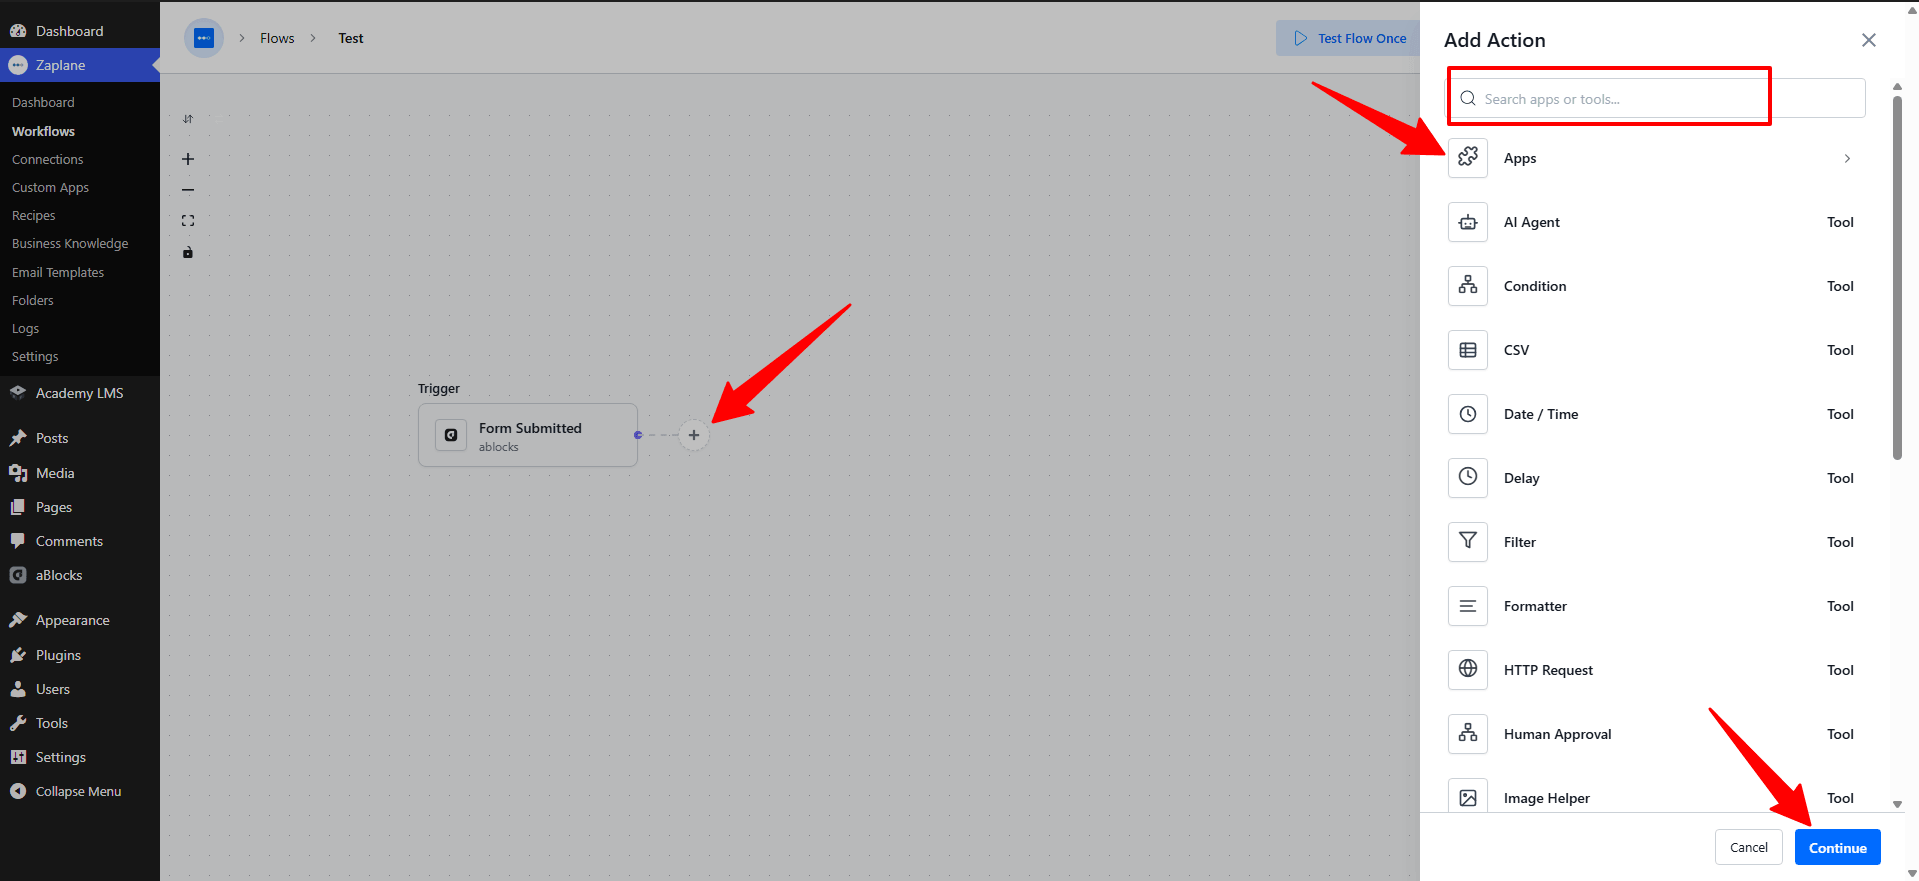
Step 8: Add an Action
- In your workflow, click the + icon and search for the app or tool you want to add.
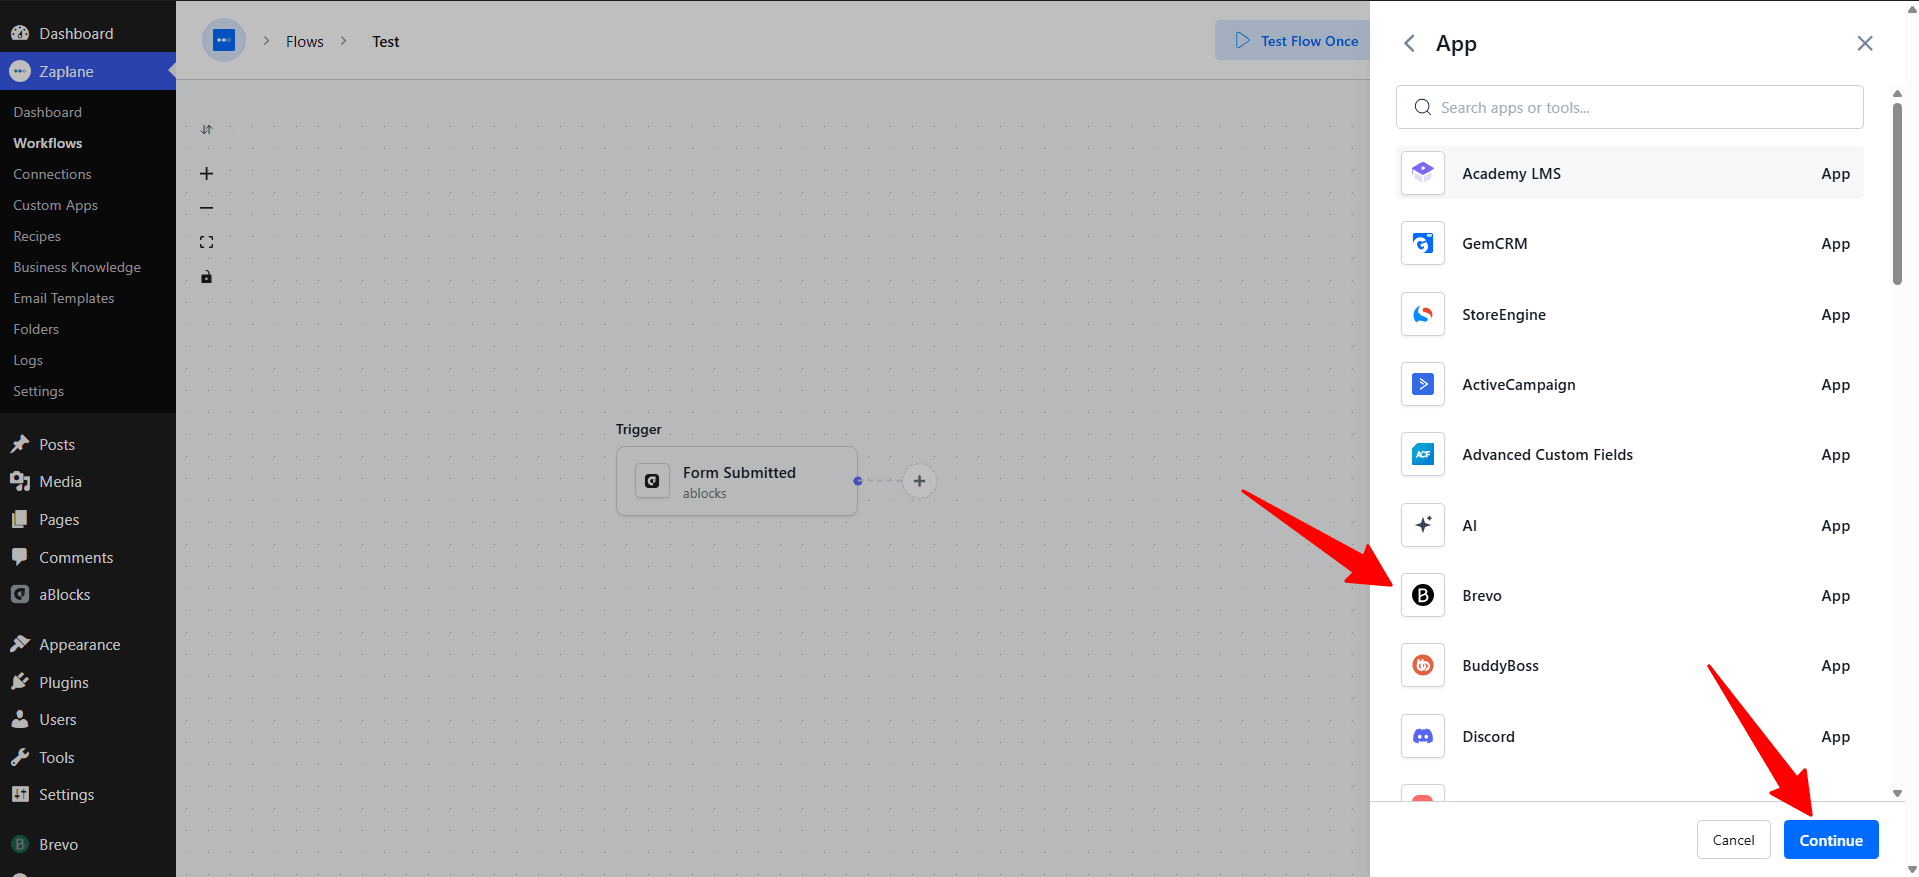
Step 9: Select the Brevo App
- From the list of apps, choose Brevo, then click Continue.
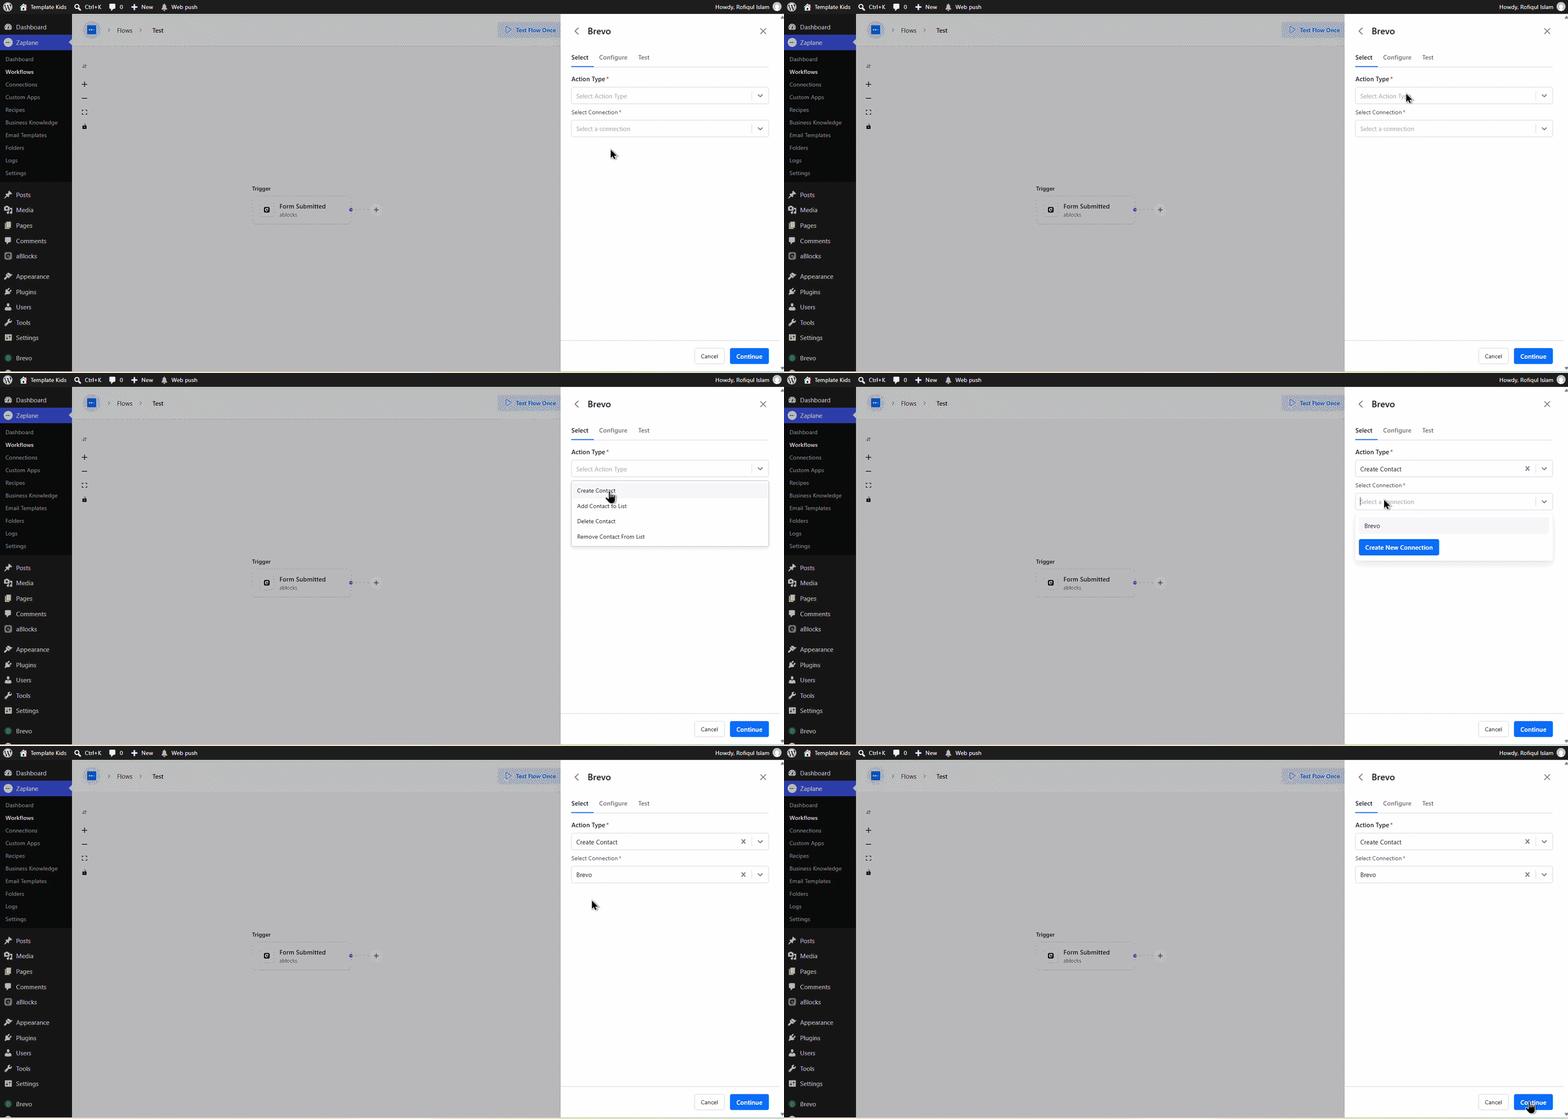
Step 10: Choose the Action Type and Connection
- On the Select tab, set Action Type to Create Contact and choose your Brevo connection, then click Continue.
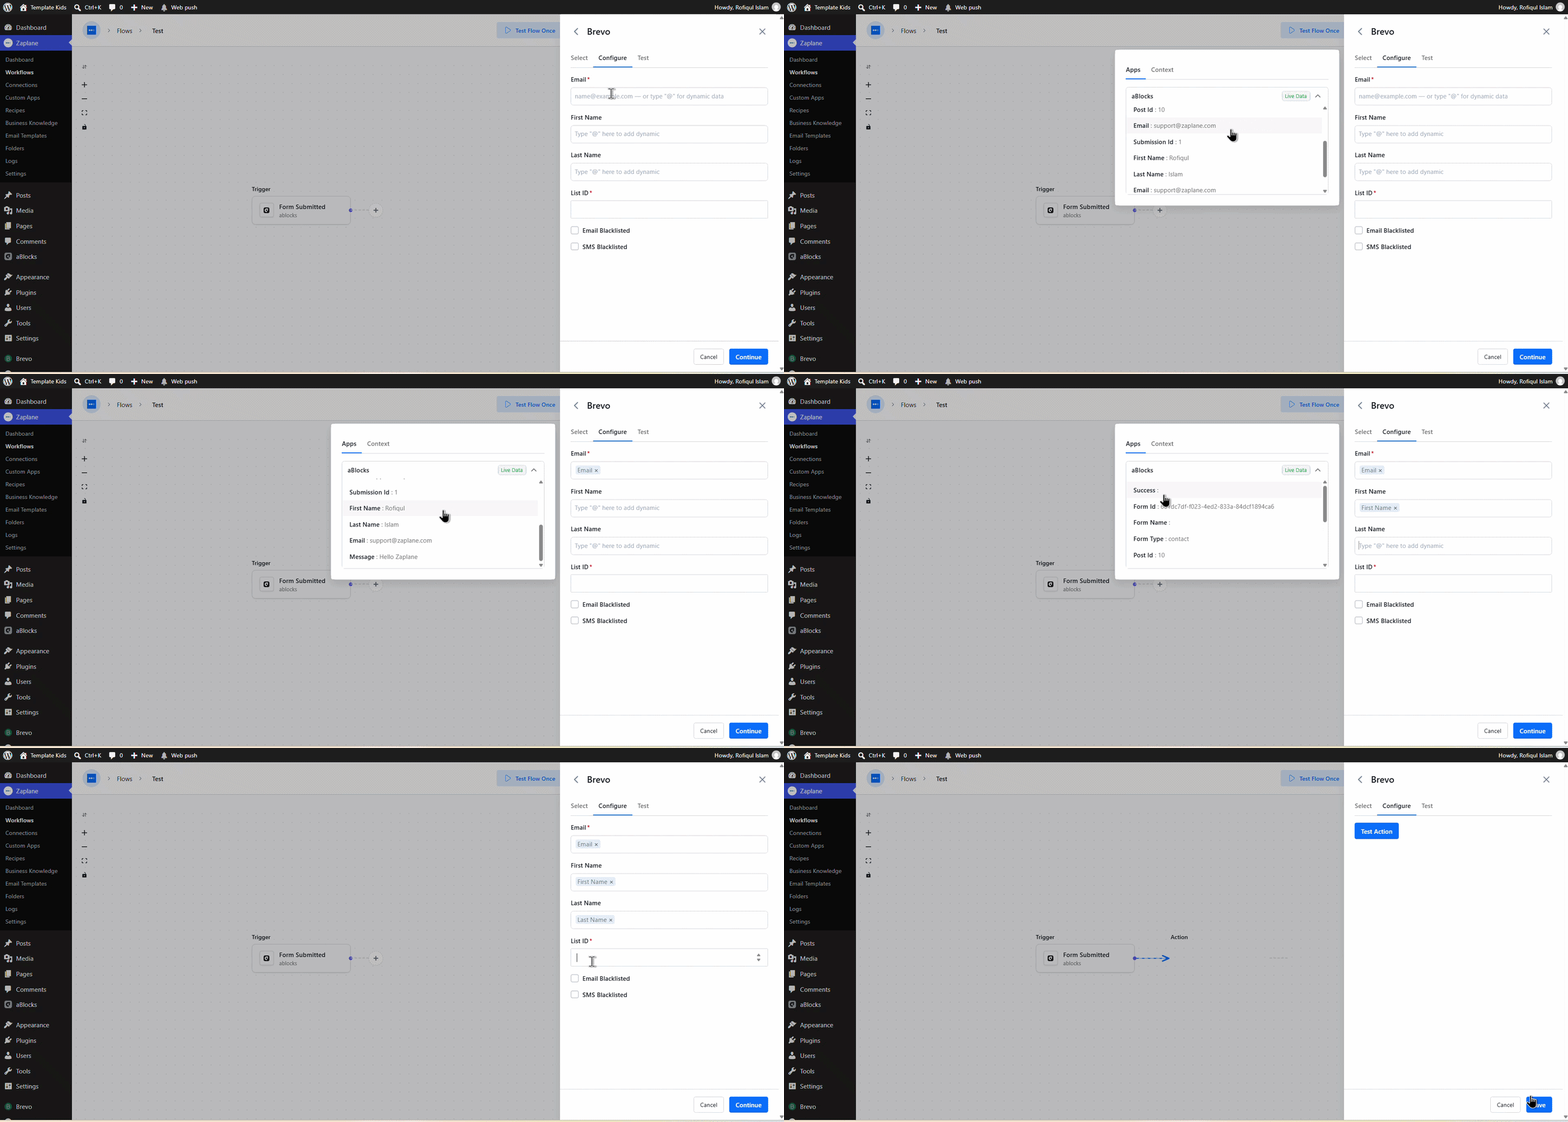
Step 11: Configure the Contact
- On the Configure tab, fill in Email, First Name, Last Name, and List ID — you can use dynamic values from earlier steps — then click Continue.
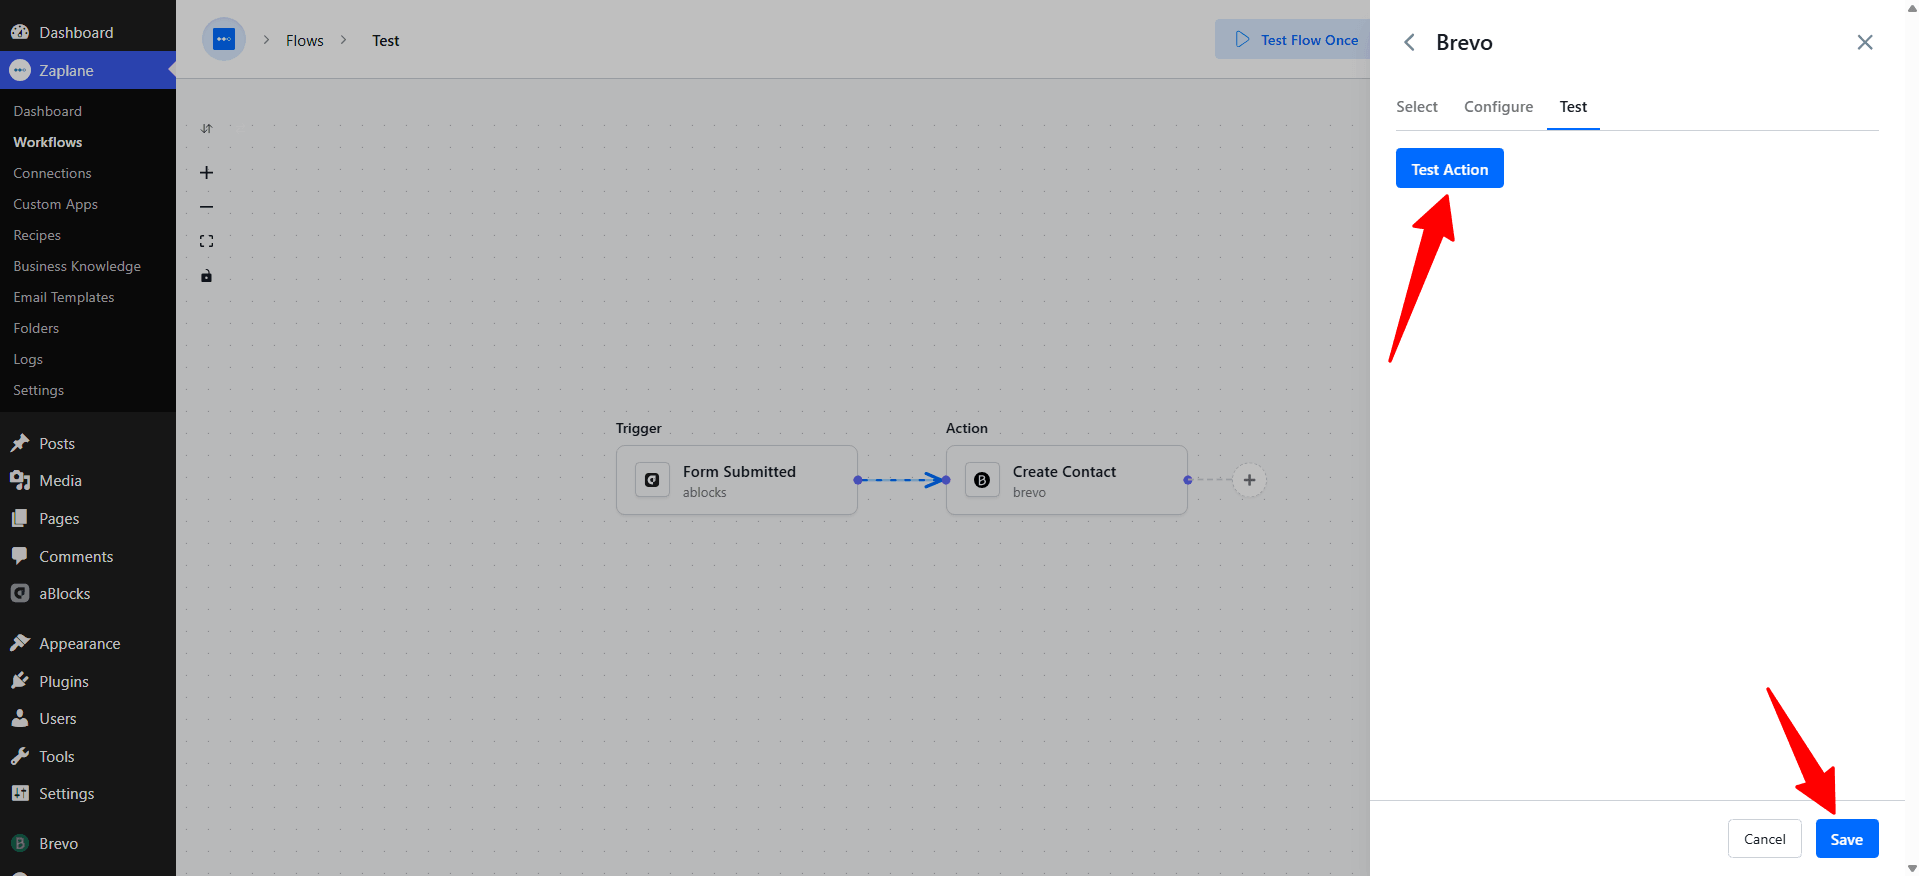
Step 12: Test and Save the Action
- On the Test tab, click Test Action, then click Save.
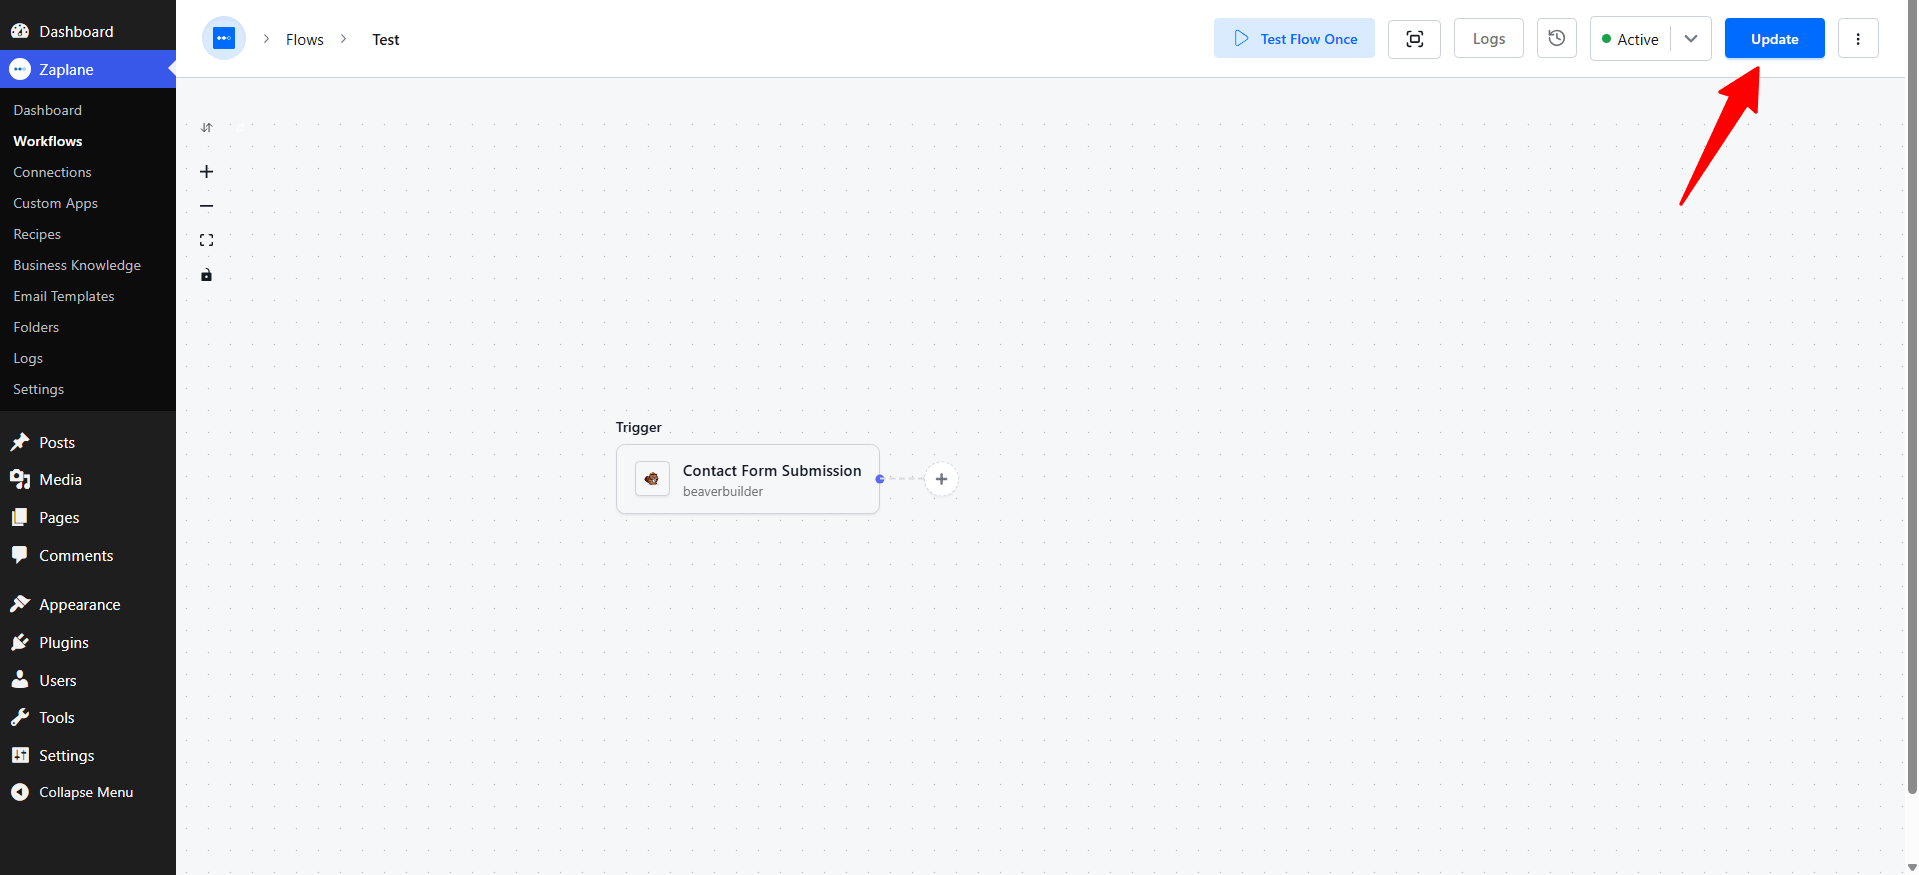
Step 13: Update and Activate the Workflow
- Click Update in the top-right corner to save your changes and keep the workflow Active.
Your Zaplane workflow now creates this Brevo contact automatically every time it runs.
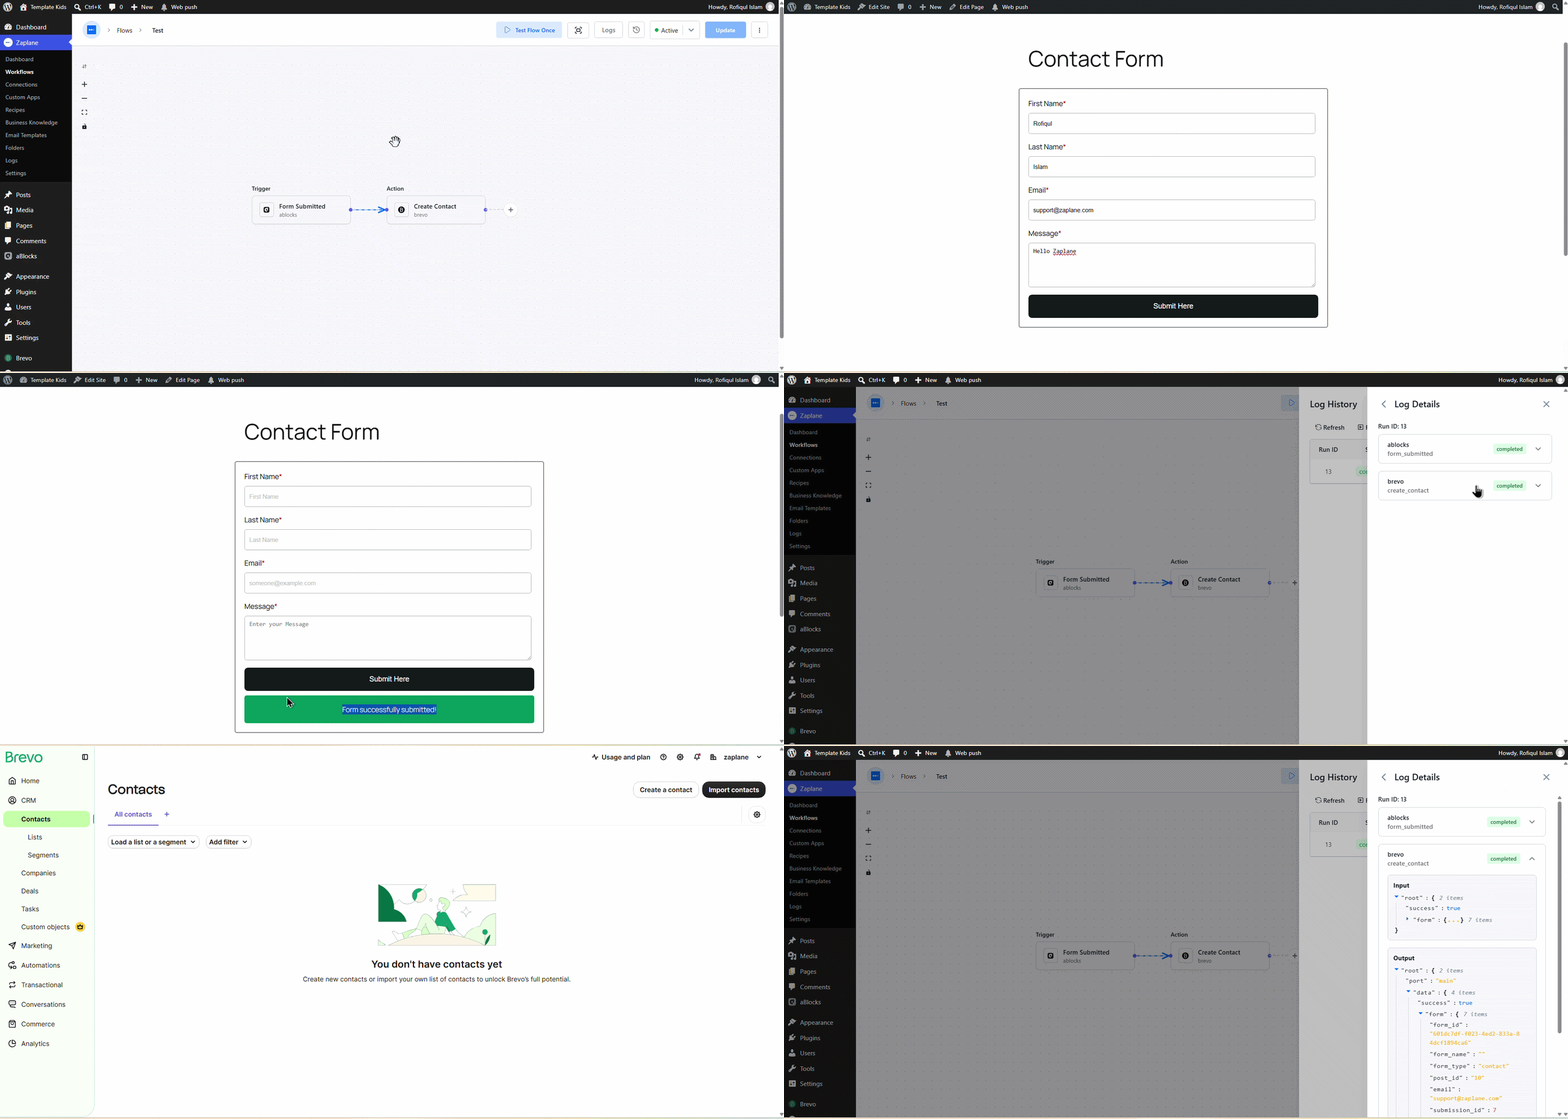
Done!
Brevo is now connected in Zaplane and ready to create contacts from any of your workflows.