

The Image Helper tool lets you get details about an image (dimensions, MIME type, file size) or resize it, using a URL, file path, or attachment ID as the source. We’ll add the Image Helper action to a workflow, configure it, and test it.
Step 1: Create a Workflow
Go to Zaplane > Workflows from your WordPress dashboard, then click Create Workflow to open the workflow editor.
Before adding an Image Helper tool, you need to set up a trigger first. Here is how to do it quickly:
- Click Select an app under the Trigger box, then choose Apps.
- Search for and select your trigger app — in this example, we are using aBlocks Contact Form.
- Choose the Trigger Type that matches the event you want to watch for, then click Continue.
- On the Configure tab, set up any required options, then click Continue.
- On the Test tab, click Test Trigger to confirm it is working correctly, then click Save.
Once your trigger is saved, proceed to the next step to add the Image Helper tool.
Step 2: Add the Image Helper tool
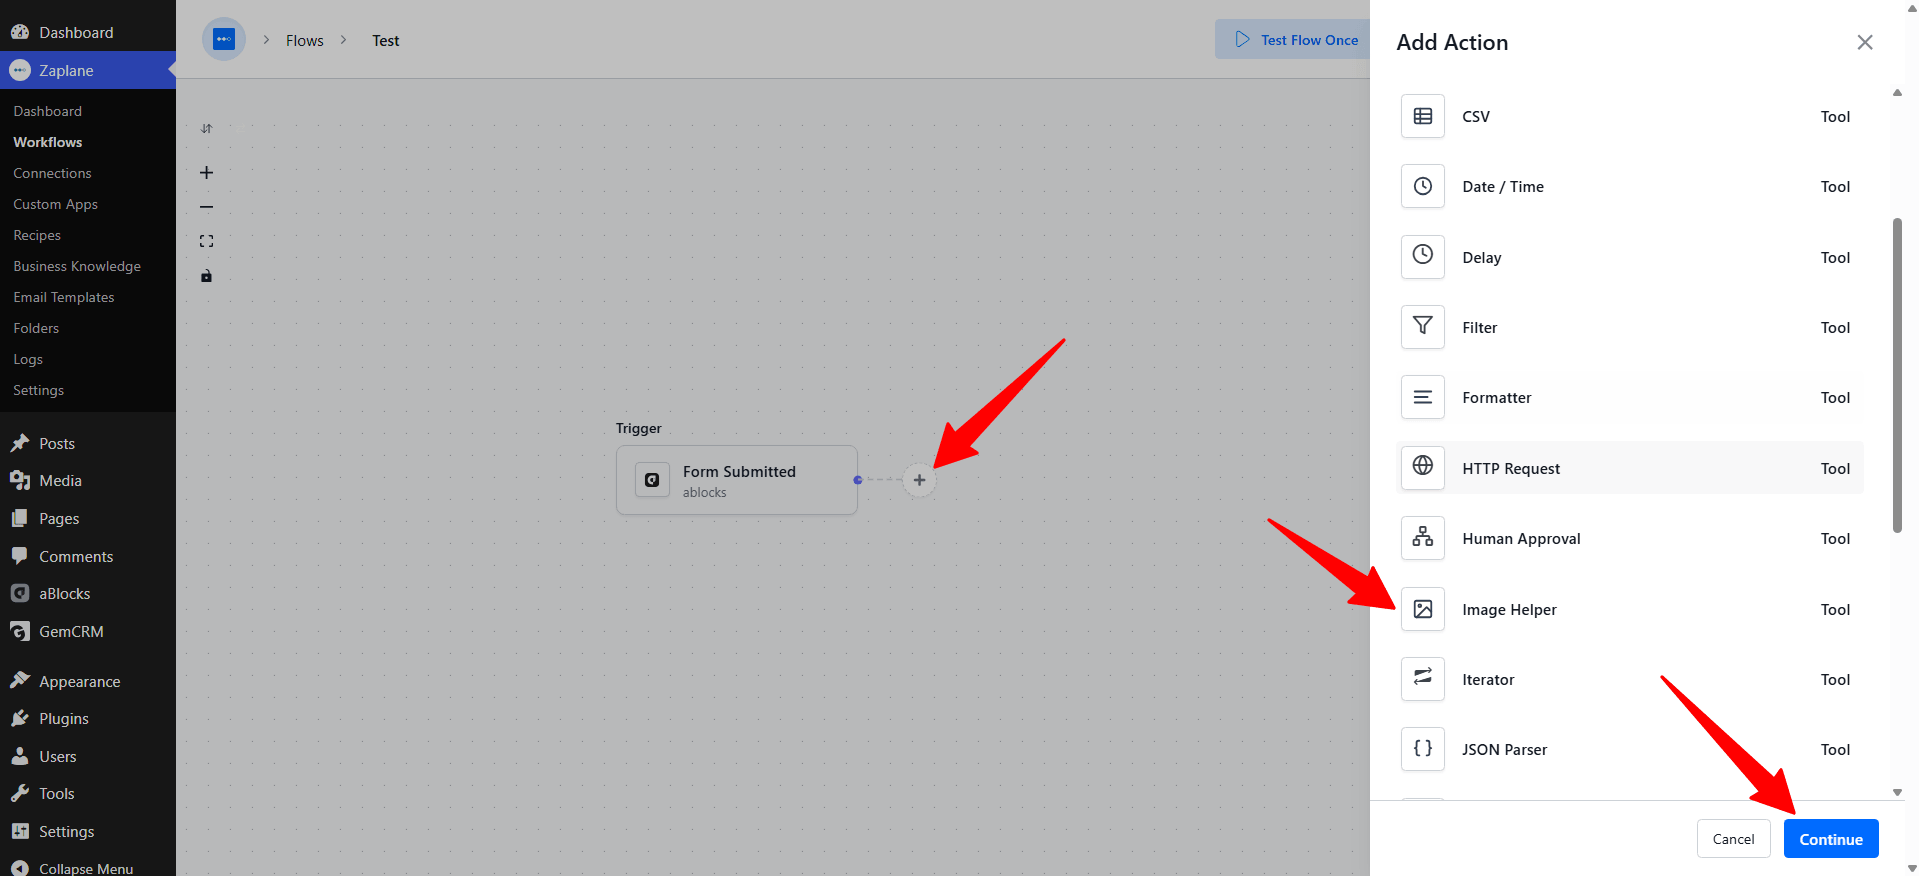
Click the + icon on your workflow canvas to open the Add Action panel, scroll the tool list, and select Image Helper.
Step 3: Select the Get Image Info action
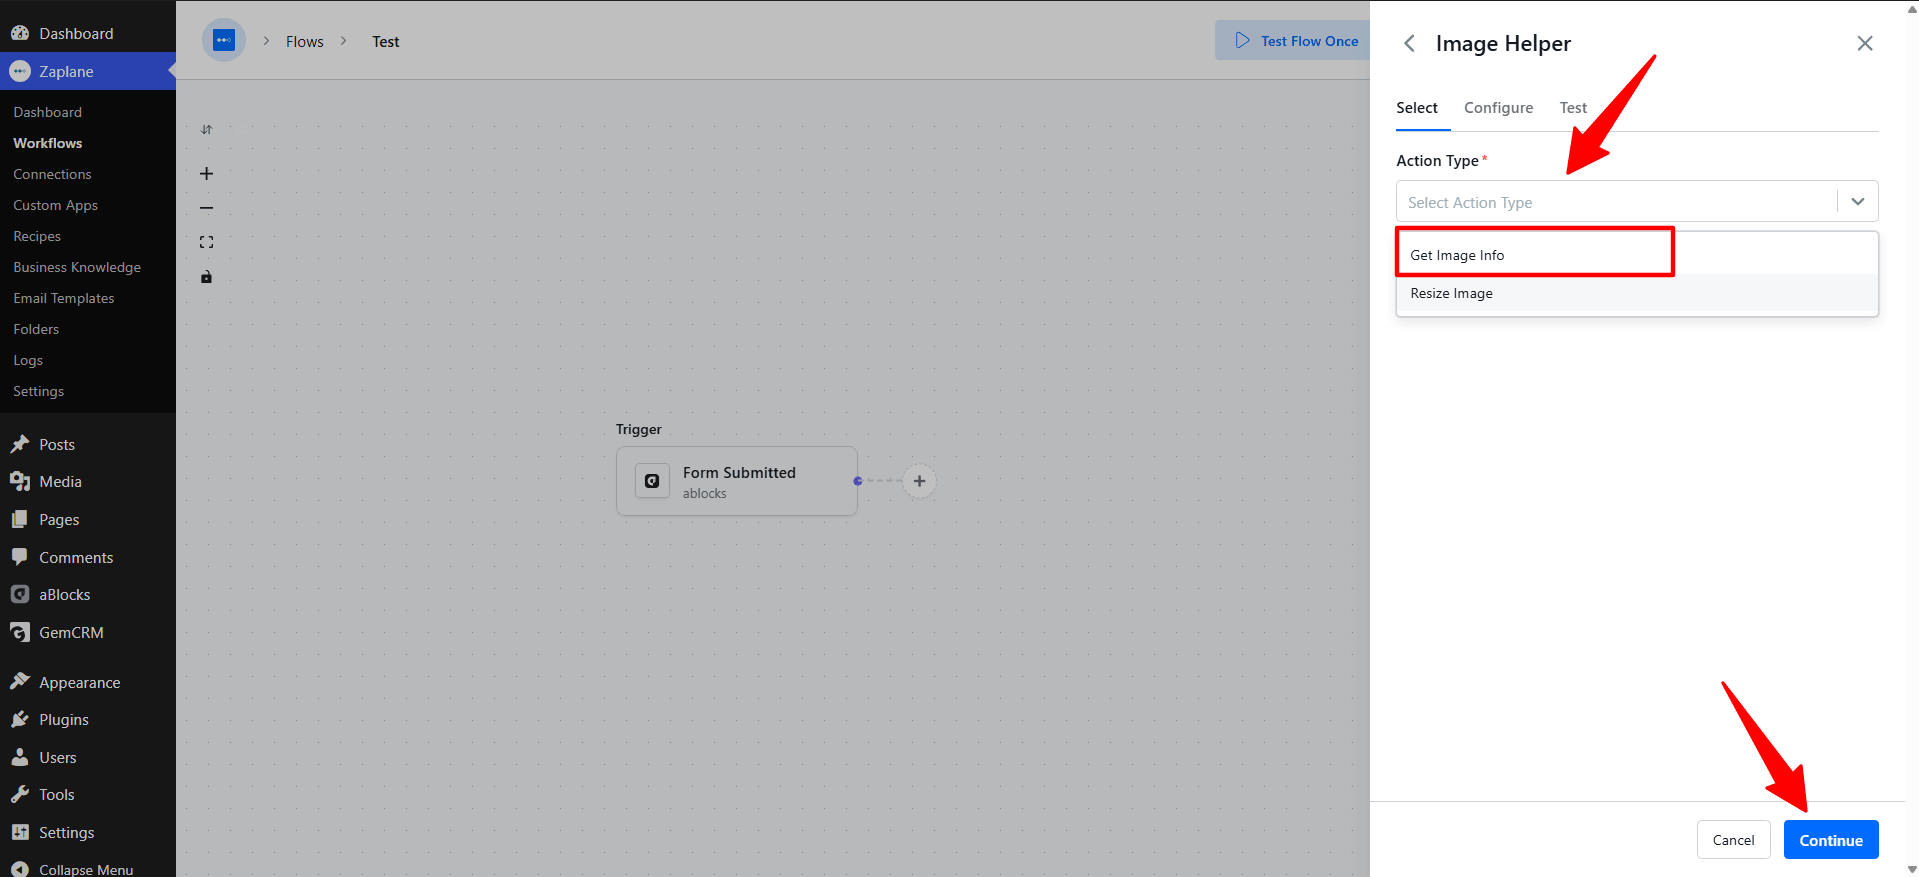
On the Select tab, choose an Action Type — Get Image Info or Resize Image — then click Continue.
Step 4: Configure the image source
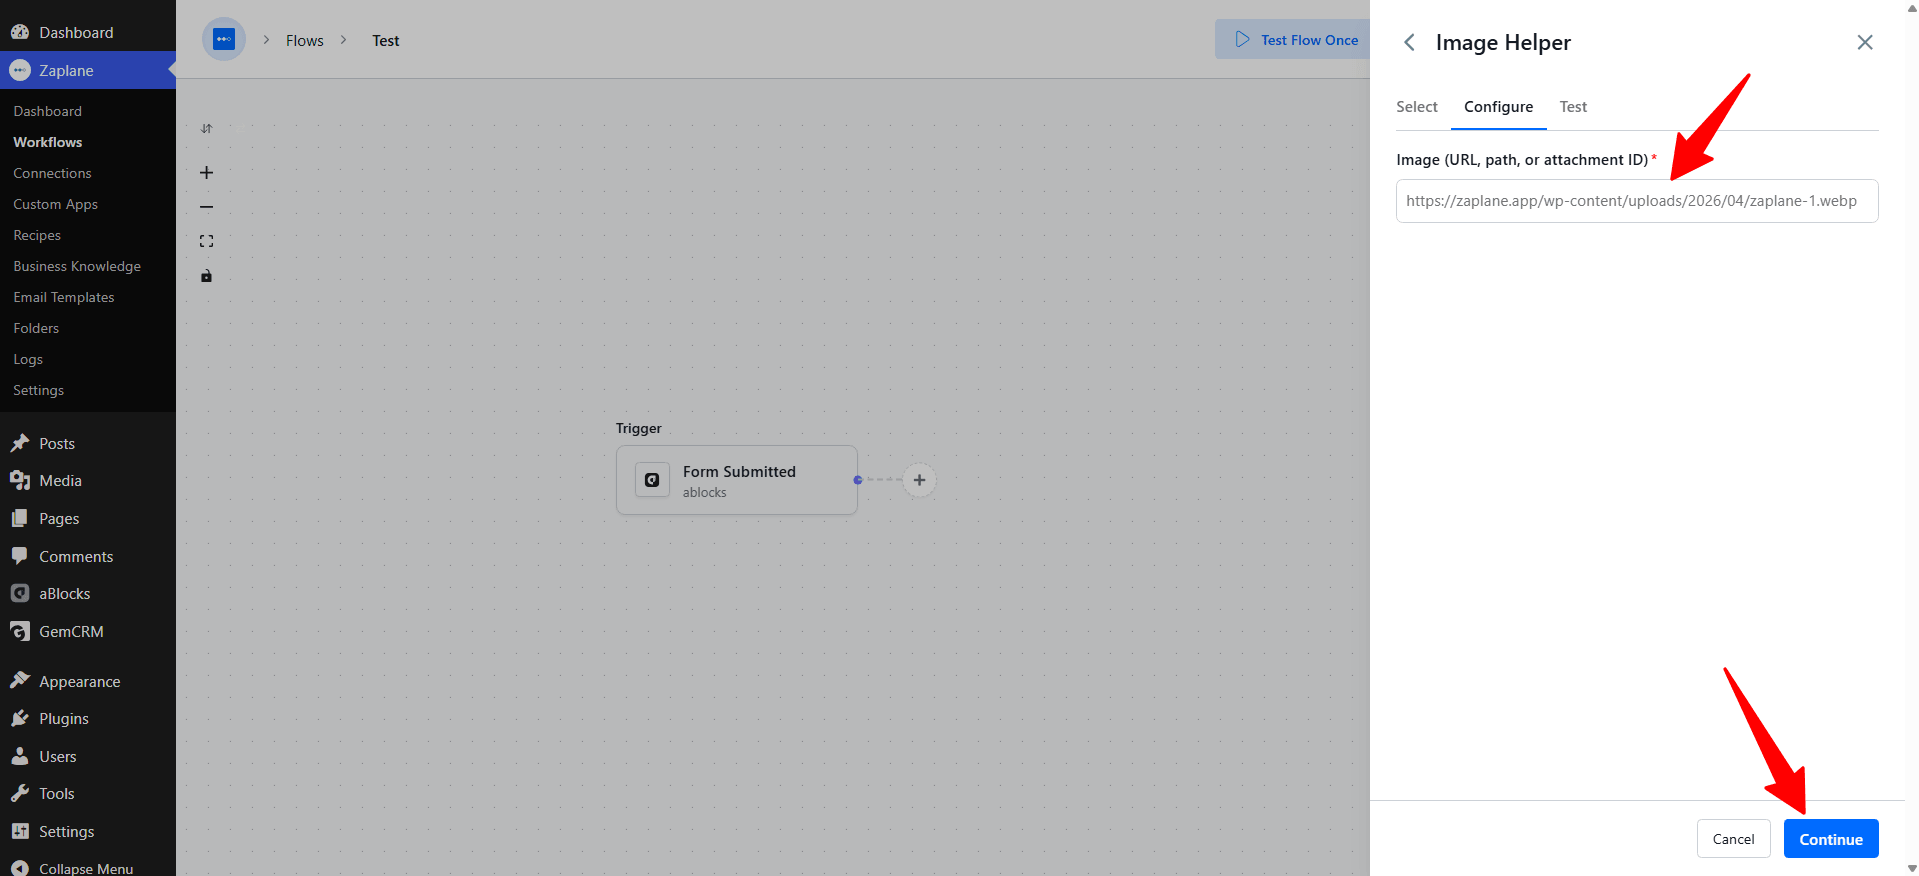
On the Configure tab, enter the Image (URL, path, or attachment ID) you want to process, then click Continue.
Step 5: Test the action and save
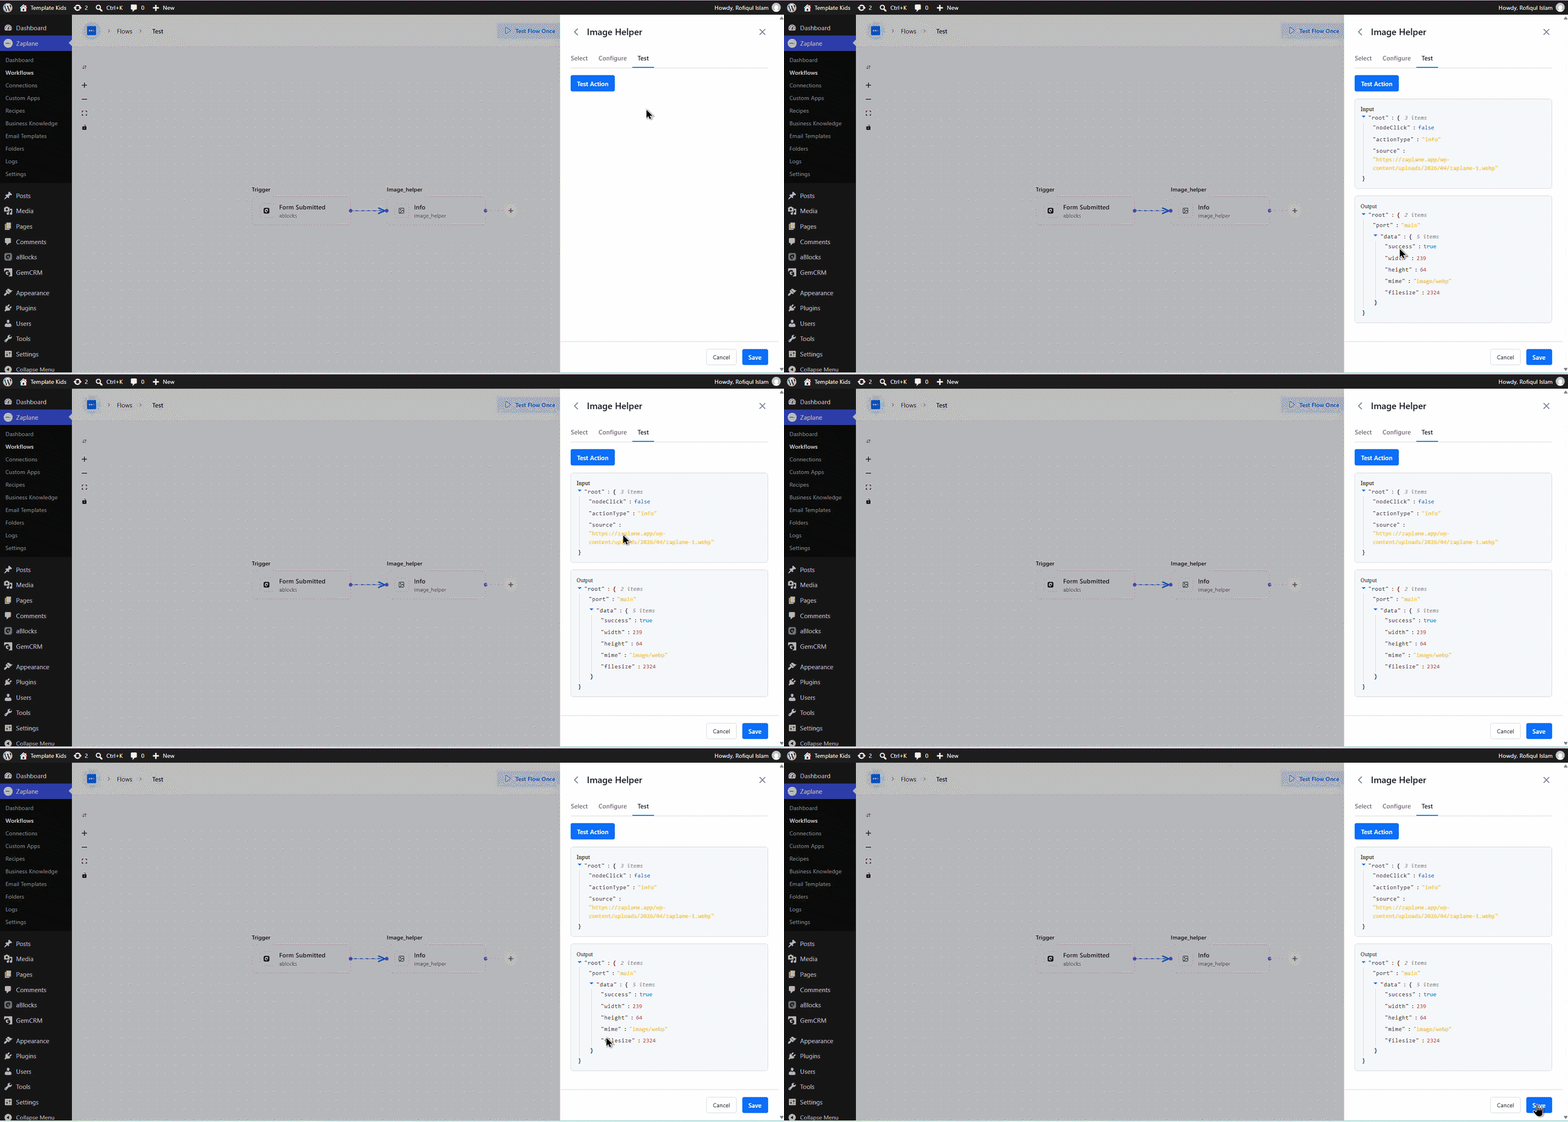
On the Test tab, click Test Action to run it against your configured image and check the Input/Output data, then click Save.
Step 6: Update and activate the workflow
Click Update in the top-right corner to save and activate the workflow. You can also check the Logs to review past runs.
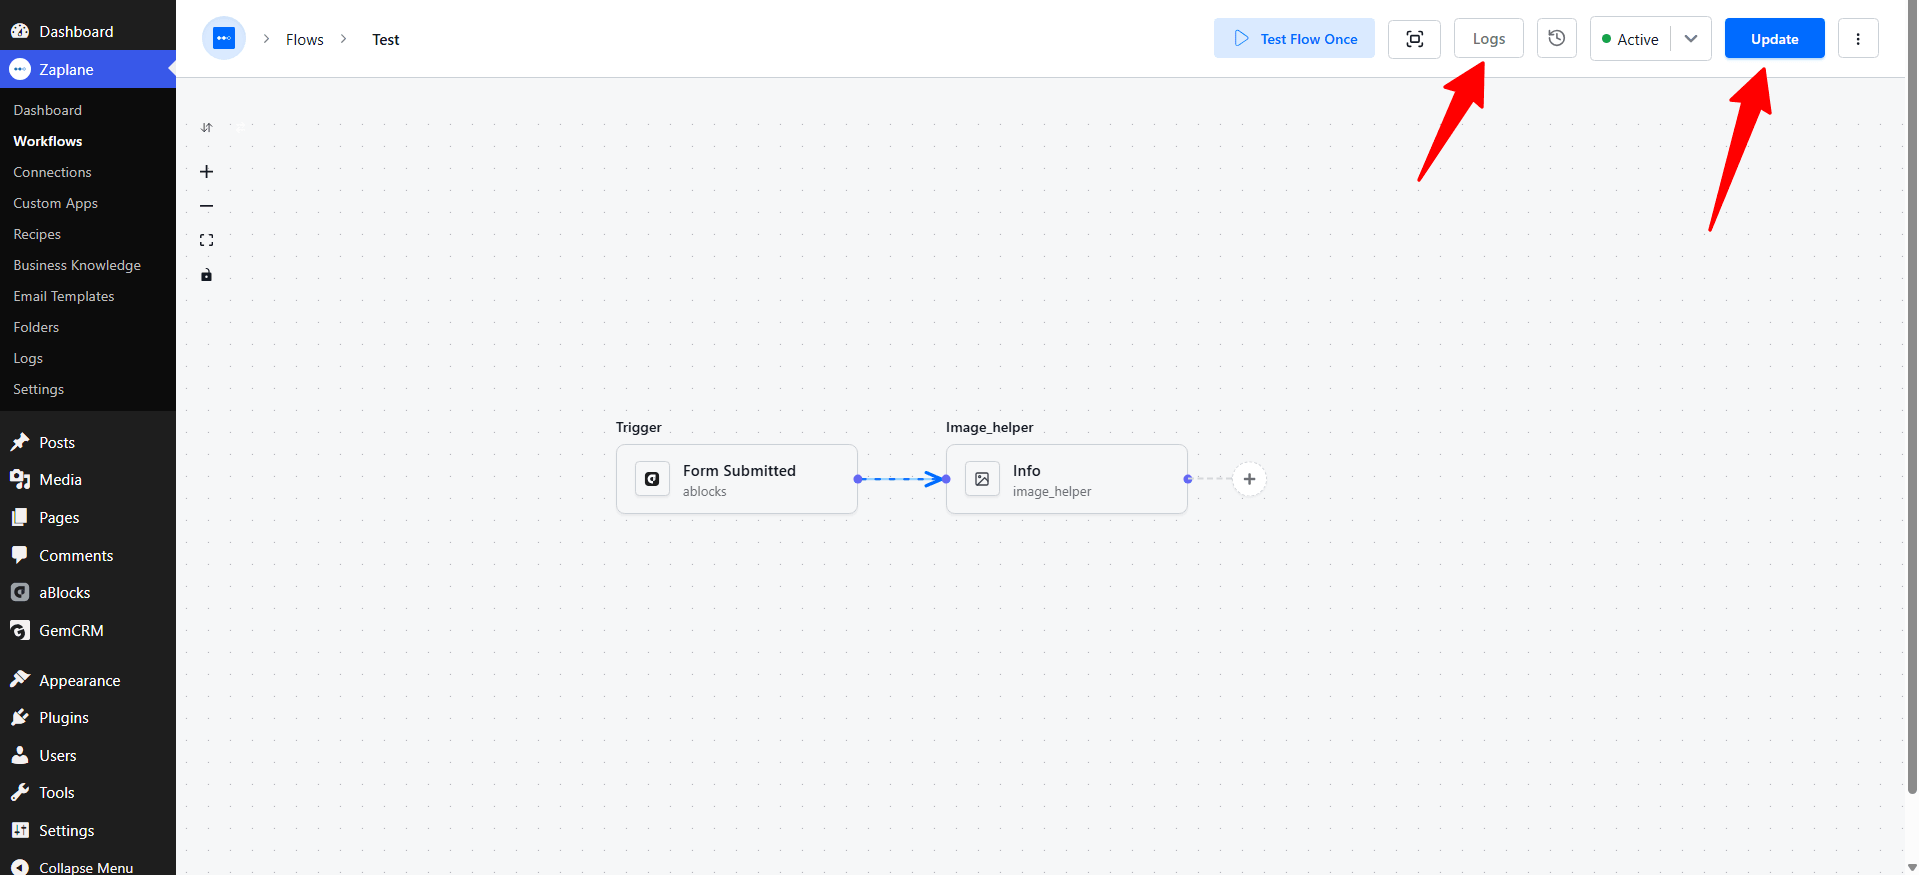
Your Zaplane workflow now automatically pulls image info (or resizes an image) as part of the flow.
Done!
The Image Helper tool is live in your workflow.